Windshield Glass Using Cutting Tool
Windshield Glass Using Cutting Tool
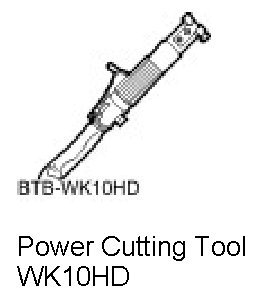
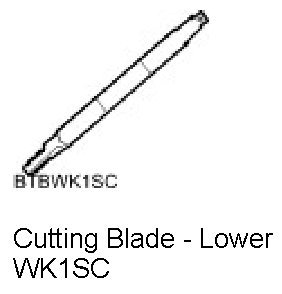
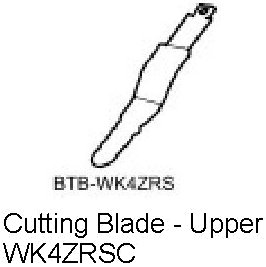
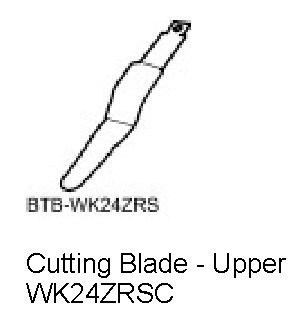
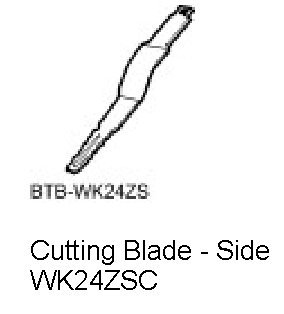
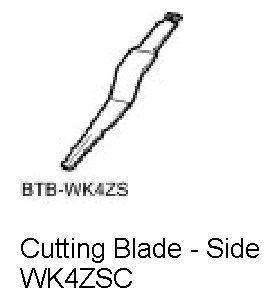
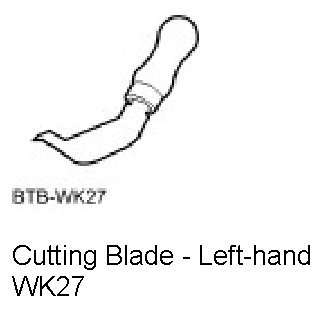
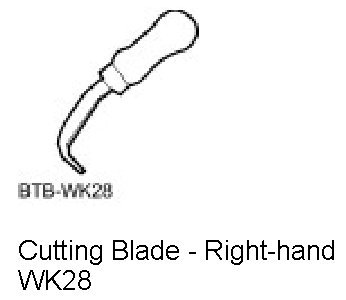
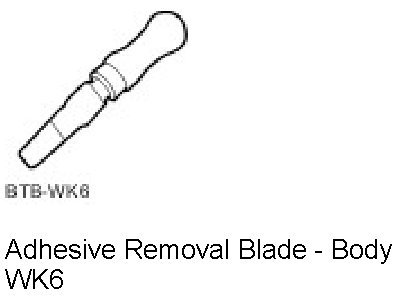
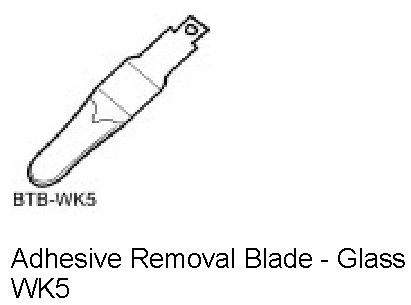
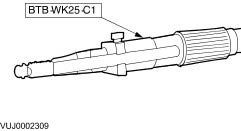
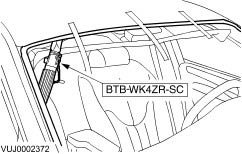
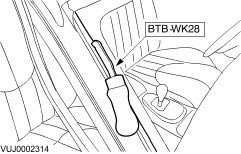
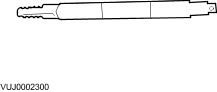
Special Service Tools


Removal
1. Remove the interior mirror.
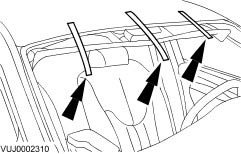
2. Remove the A-pillar trims.
3. Remove the sun visors.
4. Remove the interior light unit.
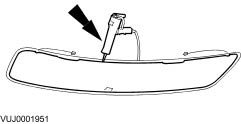
5. NOTE: Left-hand electrical connector shown, right-hand similar.
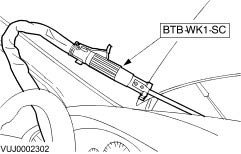
Disconnect heated windscreen electrical connector.

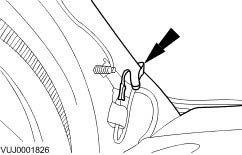
6. NOTE: Right-hand electrical connector shown, left-hand similar.
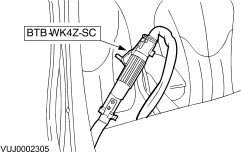
Apply protective tape to the heated windscreen electrical harness.
7. Remove the A-pillar exterior trim.

8. Remove the wiper arm nut covers.

9. Remove the wiper arm nuts.

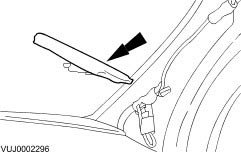
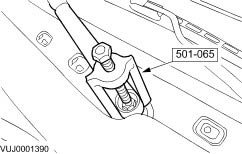
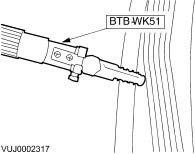
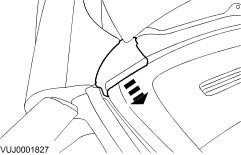
10. Using special tool, detach the wiper arms.
11. Remove the wiper arms.
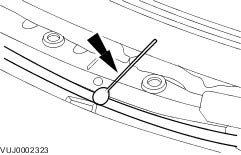
12. Remove the cowl grille.
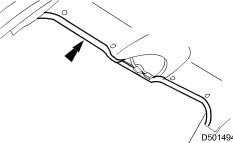
13. Remove the lower A-pillar drainage channel.

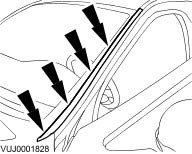
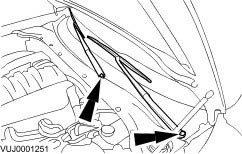
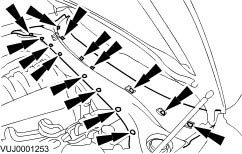
14. Apply protective tape around windshield glass aperture to protect paintwork.
15. Apply suitable protective tape around leading edge of headlining.
16. Place a suitable protective sheet over fascia and place a protecting board over sheet.
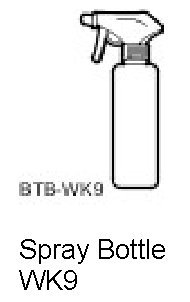
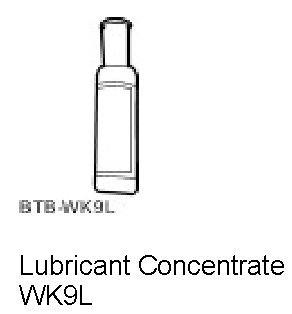
17. Dispense 20ml of WK9L lubricant into the WK9 spray bottle, fill the spray bottle with water and mix.
18. Apply cutting lubricant to the lower windshield glass.
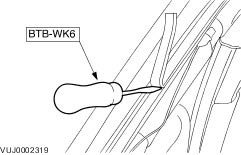
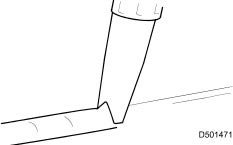
19. Using the special tool cut through the lower windshield glass adhesive.

20. Cut through the lower windshield glass adhesive continued.
21. Apply cutting lubricant to the inner A-pillar.
22. NOTE: Right-hand electrical connector shown, left-hand similar.
Using the special tool cut through the A-pillar windshield glass adhesive.
23. Apply cutting lubricant to the top of the windshield glass.
24. Set the controller arm to 150 mm.
25. Apply protective tape to the top of the windshield glass.
26. NOTE: Start cutting from either corner into the centre and continue the cut all the way through to the other corner. DO NOT cut from each corner into the centre as the pressure on the centre of the windshield glass could cause breakage.
Using the special tool cut through the top of the windshield glass adhesive.
27. Using the special tool cut through the right-hand side A-pillar remaining adhesive.
28. Using the special tool cut through the left-hand side A-pillar remaining adhesive.
29. Remove the windshield glass.
1. Attach lifting handles to the windshield glass.
2. Remove the windshield glass.

30. Remove lifting handles from the windshield glass.
31. Remove protective cloth from fascia.
32. Remove protective tape from the windshield glass aperture.
Installation
1. If the original windshield glass is to be installed:
- Use the special tool to remove residual adhesive from the windshield glass mating surface.
2. Using the special tool remove any residual adhesive from the body.
3. Apply primer to the mating face of the body.
4. Install the upper and lower windshield glass spacers to the aperture.
1. Install the alignment pegs to the upper aperture.
2. Install the seating pegs to the upper and lower aperture.

5. Cut adhesive nozzle to achieve a triangular section bead 8 mm (0.32 in) wide by 10 mm (0.4 in) high.
6. Using a suitable pneumatic application gun, apply a uniform bead of adhesive to the windshield glass edge commencing at bottom centre and overlapping the ends approximately 100 mm (4 in).
7. CAUTION: When installing the windshield glass, do not strike it in any way as this will crack the windshield glass.
Carefully install the windshield glass in the aperture. Aligning the windshield glass with the body markings and press firmly into place.
8. Remove the lifting handles.
9. Remove the protective tape from the leading edge of the headlining.
10. NOTE: Left-hand electrical connector shown, right-hand similar.
Reconnect the heated windscreen electrical connector.
11. Install the A-pillar trims.
12. Install the interior mirror.
13. Install the lower A-pillar drainage channels.
14. Install the cowl grille.

15. NOTE: Place a sheet of white paper on the inside of the vehicle behind the obscuration to identify the correct position for installing the wiper arms.
Install the wiper arms.

16. Install the wiper arm nut covers.
17. Install the A-pillar exterior trims.