Crossmember Replacement
Crossmember Replacement
Removal Procedure
1. Raise and suitably support the vehicle. Refer to Lifting and Jacking the Vehicle Service and Repair in General Information.
2. Remove the rear wheels.
3. Remove the rear muffler. Refer toMuffler Replacement (Front 2.0L) Muffler Replacement (Front)Muffler Replacement (Rear) Muffler Replacement (Rear)Muffler Replacement (Front 2.5L) Muffler Replacement (Front) in Engine Exhaust.

Caution: Failure to support crossmember can cause crossmember to drop to the ground when crossmember mounting bolts are removed.
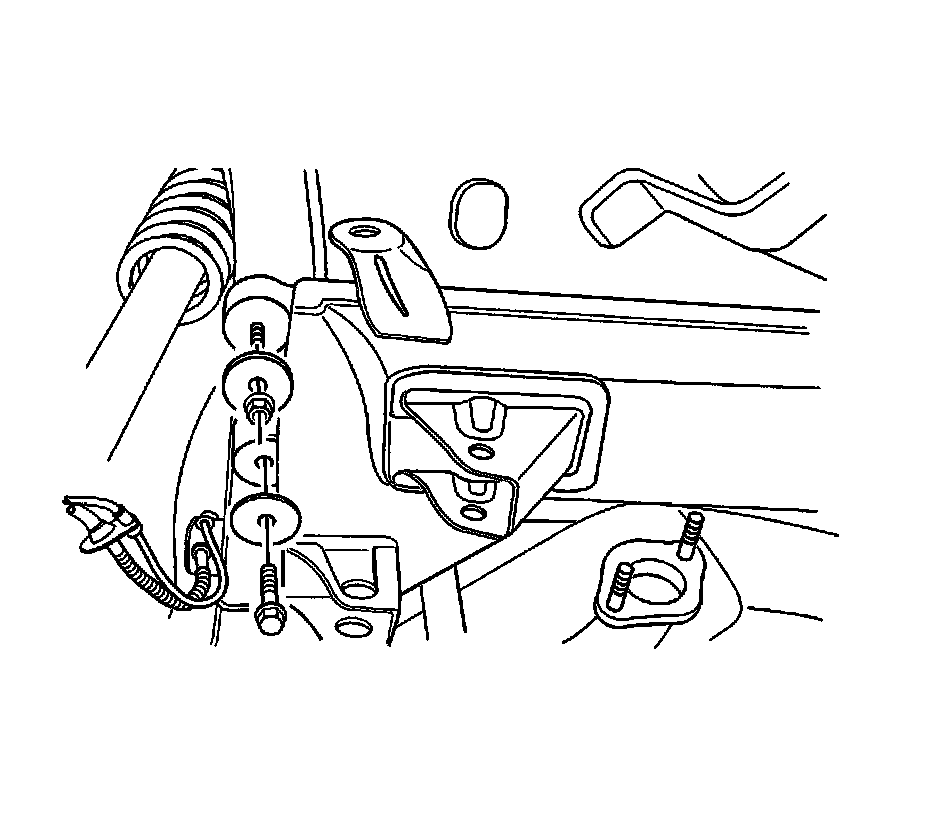
4. Remove the rear seat and rear strut upper nut-to-body.
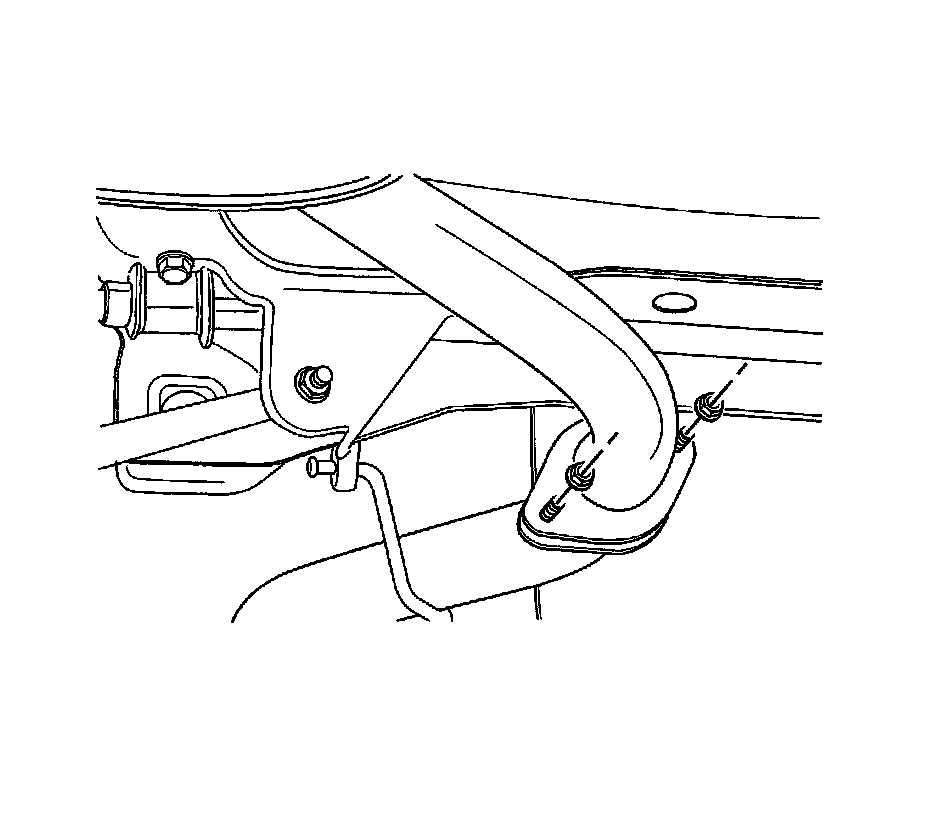
5. Remove the rear crossmember bolts and nuts.
6. Remove the rear crossmember by lowering the jackstand.
Installation Procedure
Notice: Refer to Fastener Notice Fastener Notice in Cautions and Notices.
1. Install the rear crossmember with bolts and nuts.
Tighten the rear crossmember bolts and nuts to 110 Nm (81 lb ft).
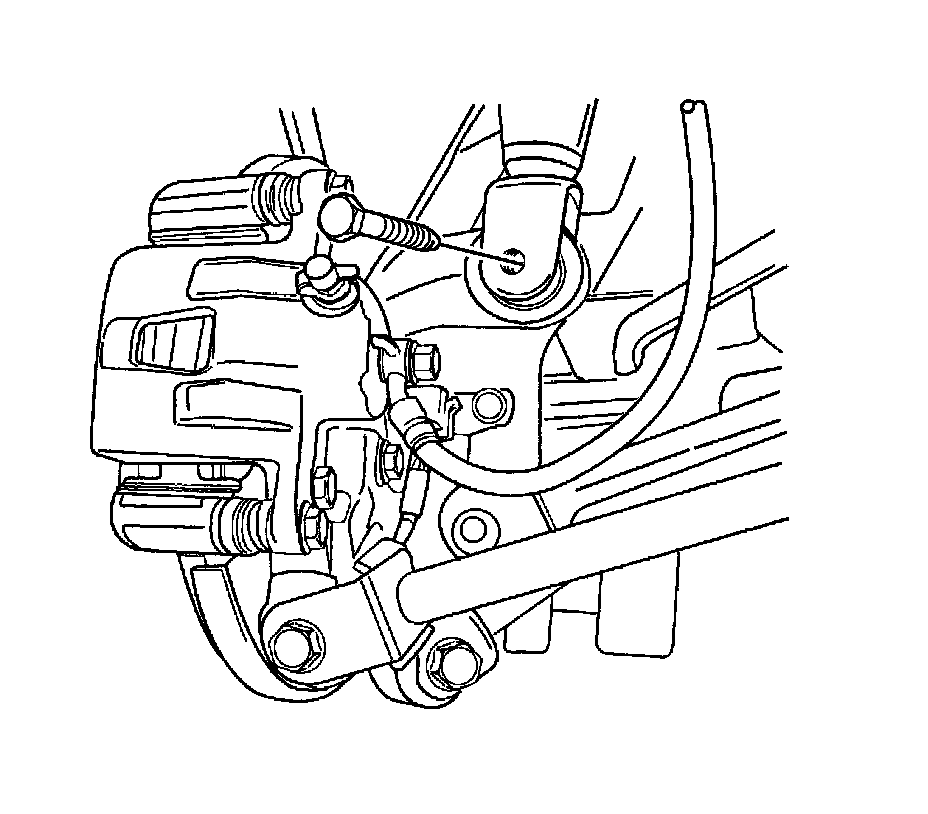
2. Install the front/rear parallel links and stabilizer bar.