Caliper Disassembly/Assembly
Four-Piston Caliper Assembly:

Disassembly
1. Pull cotter pin from end of shoe assembly retaining pin. Remove the pin and shoe assembly from the caliper. Identify the inboard and outboard shoes if they are to be reused. Remove the end of brake hose at bracket by removing U-shaped retainer from the hose fitting and withdrawing the hose from bracket.
2. Separate the caliper halves by removing the two large bolts. Remove the two small O-rings from the cavities around the fluid transfer holes in the two ends of the caliper halves.
3. To free the piston boots so that the pistons may be removed, push the piston down into the caliper as far as it will go. Insert a screwdriver blade under the inner edge of the steel ring in the boot, and using the piston as a fulcrum, pry the boot from its seat in the caliper half. Use care not to puncture seal when removing pistons from caliper.
4. Remove the pistons and piston springs from the caliper half. Remove the boots and seals from their grooves in the piston.
Assembly
1. Assemble the seal in the groove in the piston which is closest to the flat end of the piston. The lip on the seal must face toward the large end of the piston. Be sure lips are in the piston groove and do not extend over the step in the end of the groove.
2. Place the spring in the bottom of the piston bore.
3. Lubricate the seal with clean brake fluid.
Installing Piston On Caliper:
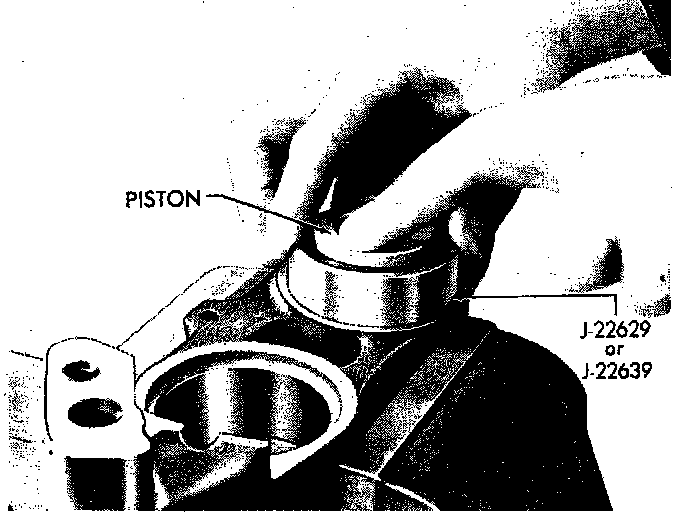
4. Install the piston assembly in the bore using Piston Ring Compressor Tool J-22629 or J-22639 as shown in the illustration. Use care not to damage the seal lip as piston is pressed past the edge of the bore.
Inserting RTV Sealant Into Boot Groove:
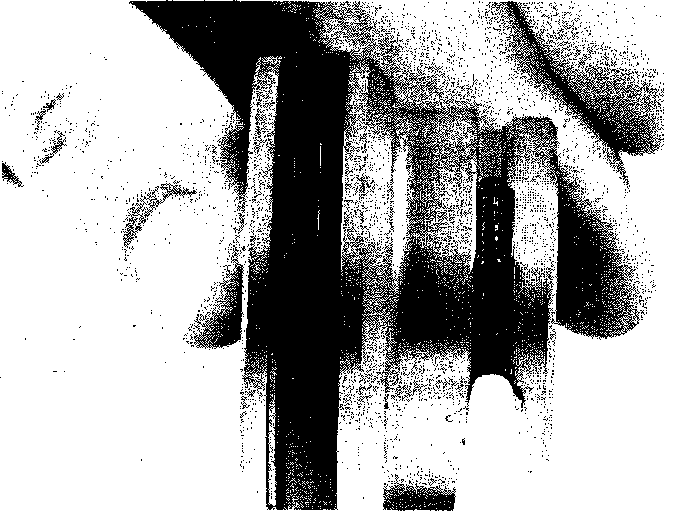
5. The boot groove on the piston is the groove closest to the concave end of the piston. Insert a bead of silastic sealant GM 1052366 or equivalent into the boot groove in the piston and assemble the boot in the groove. The fold in the boot must face toward the end of the piston with the seal on it.
6. Depress the pistons and check that they slide smoothly into the bore until the end of. the piston is flush with the end of the bore. If not, recheck piston assembly and location of the piston spring and the seal.
Installing Boot Seal In Caliper:
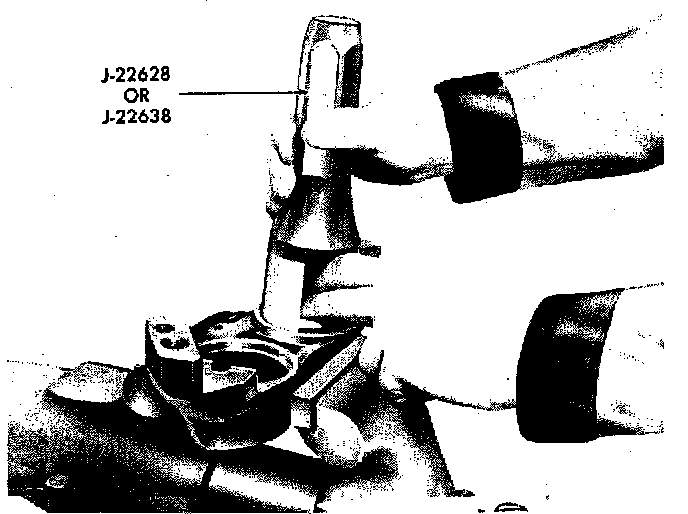
7. Position Boot Seal Installer Tool J-22628 or J-22638, over the piston and seat the steel boot retaining ring evenly in the counterbore as shown in the illustration. The boot retaining ring must be flush or below the machined face of the caliper. Any distortion of uneven seating could allow contaminating and corrosive elements to enter the bore.
Applying RTV Sealant To Boot Retaining Ring:
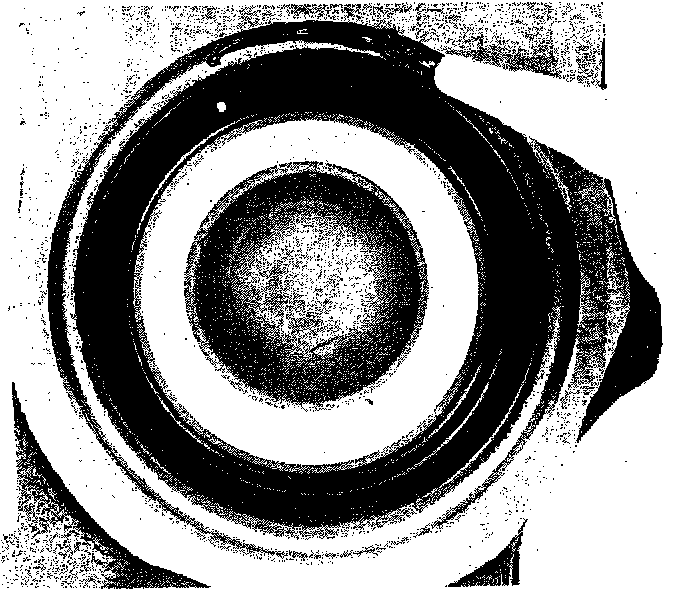
Boot Retainer Ring-to-Housing Seal:
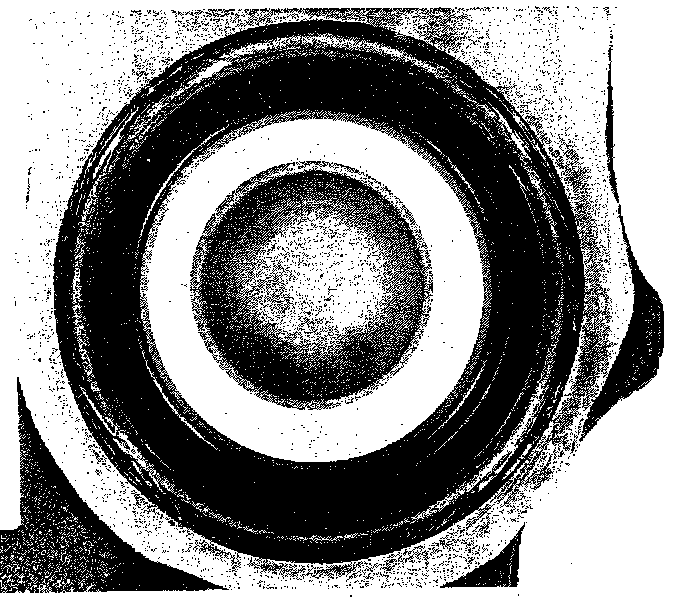
8. Depress pistons and while holding in a depressed position place a bead of silastic sealant GM 1052366 or equivalent on outer diameter of the boot retaining ring forming a seal between the boot retainer ring and the housing.
9. Position the "O" rings in the small cavities around the brake fluid transfer hole in both ends of the outboard caliper halves. Lubricate the hex head bolts with Delco Brake Lube (or equivalent) or dip in clean brake fluid. Fit caliper halves together and secure with bolts.