Shift Control Linkage Replacement
Shift Control Linkage Replacement
Removal Procedure
Caution: Refer to Battery Disconnect Caution Battery Disconnect Caution in Cautions and Notices.
1. Disconnect the negative battery cable.
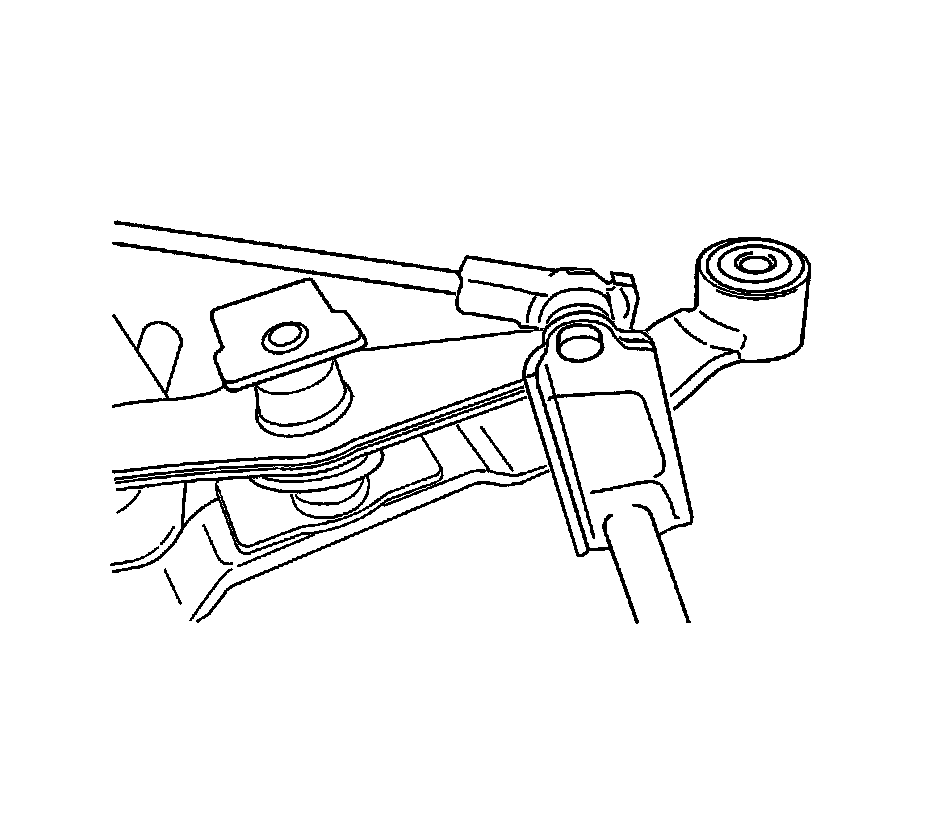
2. Separate the plastic clip from the end of each ball socket.
3. Separate the ball sockets from the ball studs on the linkage bolts using a pry bar.
4. Remove the control shift rod.
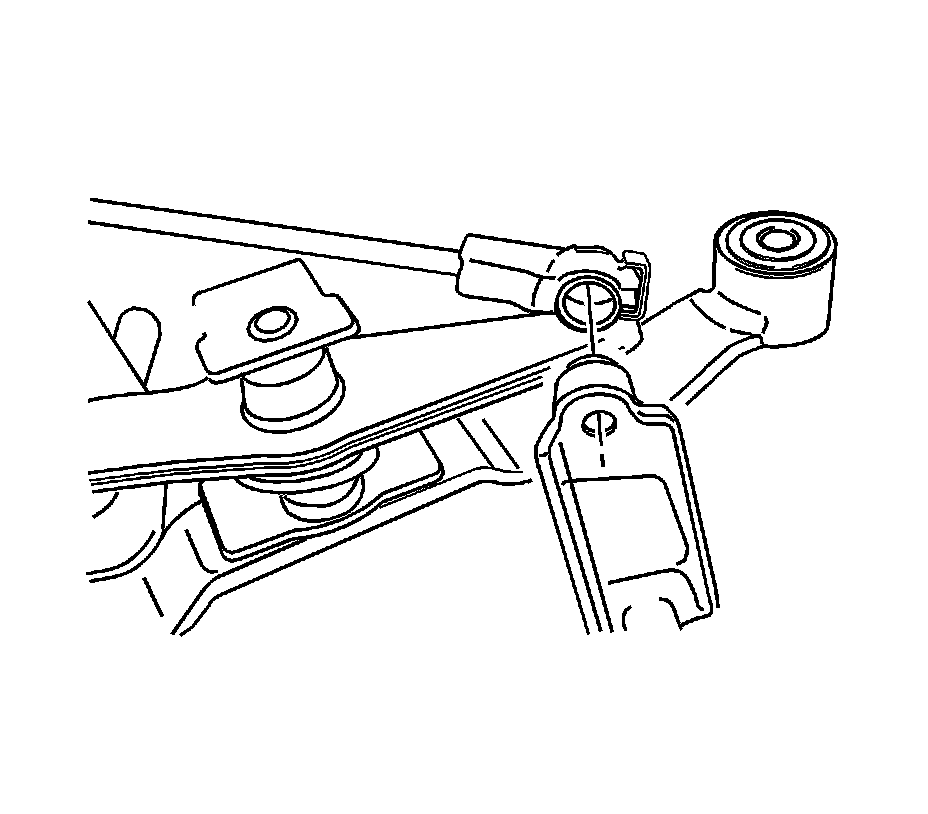
5. Remove the clip and the bolt from the universal joint.
6. Loosen the rod clamp bolt.
7. Separate the linkage bolt from the shift tube.
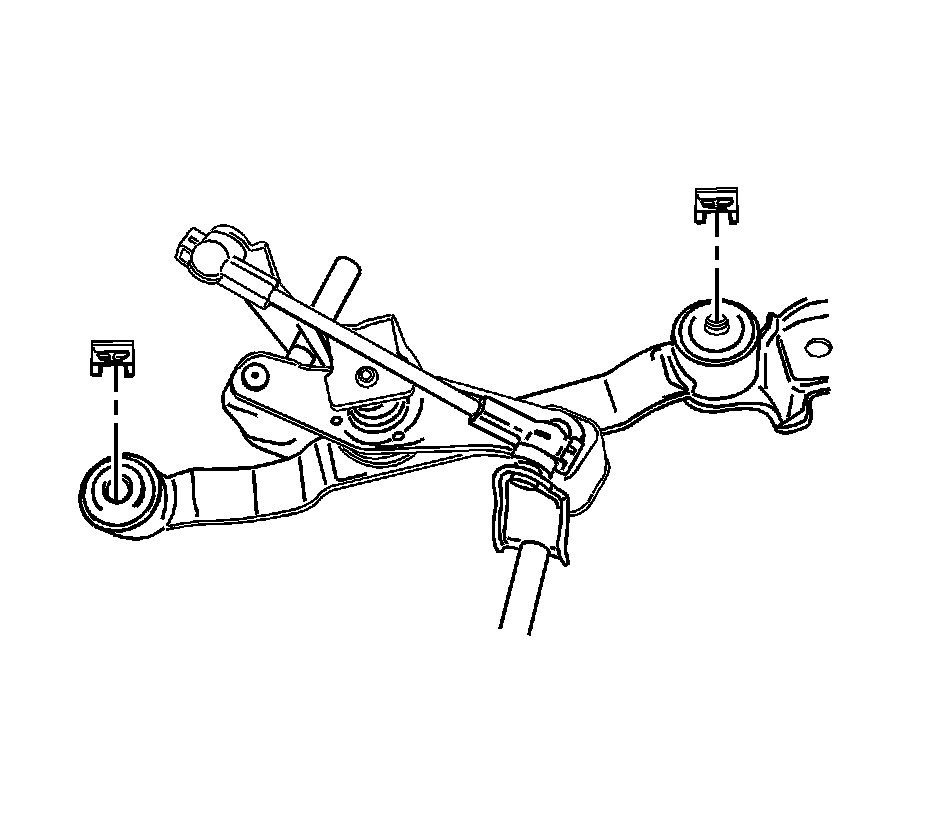
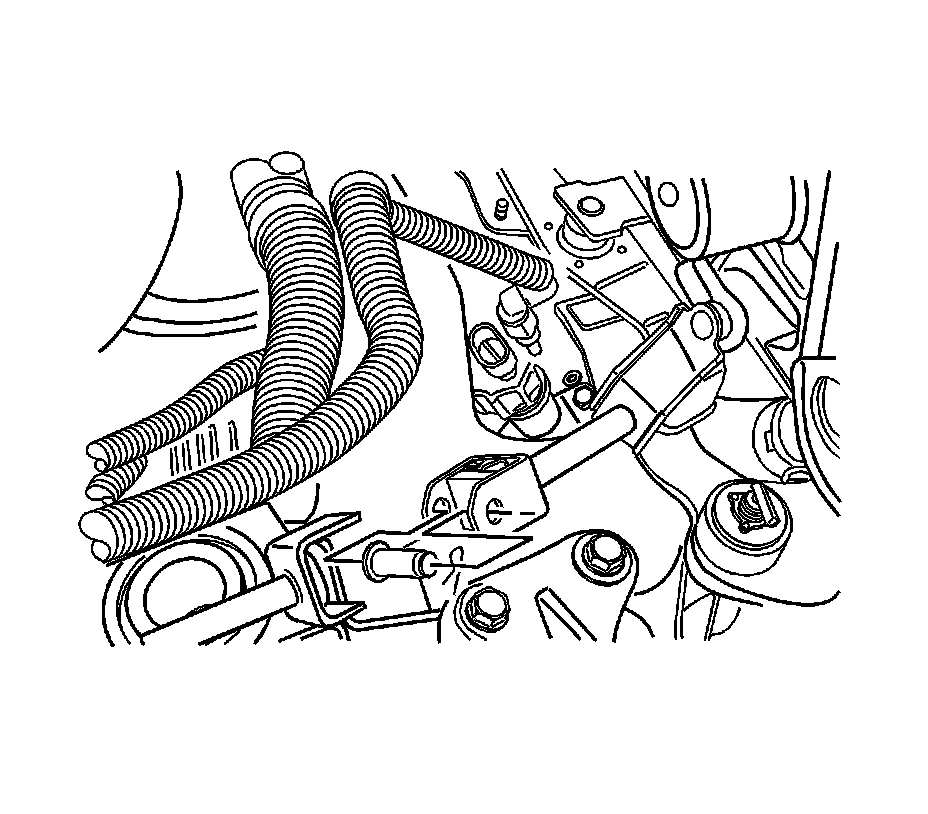
8. Remove the clips.
9. Remove the linkage lever assembly from the vehicle.
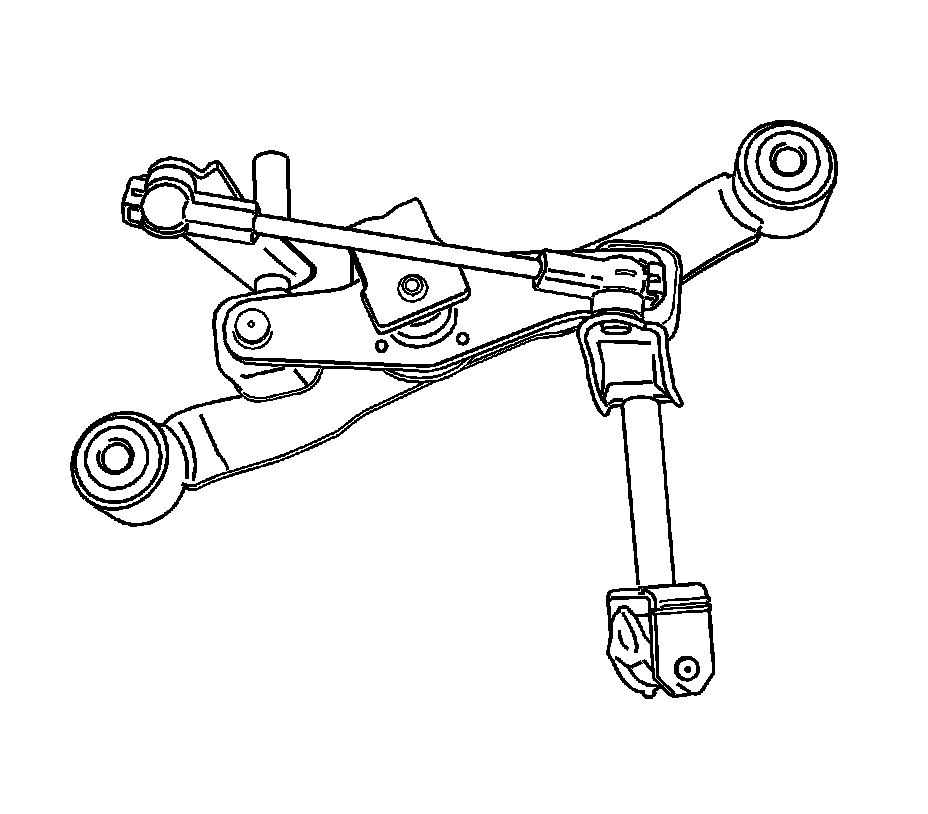
Installation Procedure
1. Install the linkage lever assembly into the vehicle.
2. Install the clips.
3. Coat the universal joint bolt with silicone grease.
4. Install the universal joint bolt and the clip onto the universal joint.
5. Install the control shift rod.
6. Press the ball sockets onto the ball studs on the linkage bolts.
7. Connect the plastic clips on the end of each ball socket.
8. Connect the linkage bolt to the shift tube.
9. Adjust the shift linkage. Refer to Shift Linkage Adjustment 1. Shift Linkage Adjustment.
Notice: Refer to Fastener Notice Fastener Notice in Cautions and Notices.
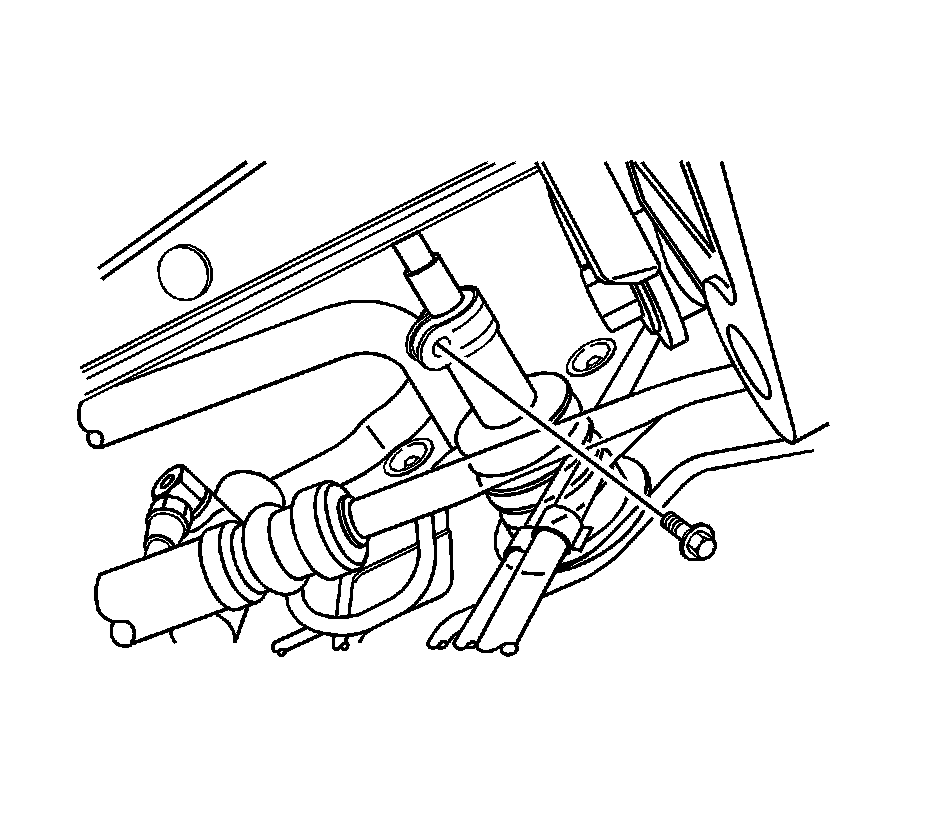
10. Tighten the rod clamp bolt.
Tighten the rod clamp bolt to 14 Nm (124 lb in).
11. Connect the negative battery cable.